
Arlo security cameras are a popular choice for homeowners looking to enhance their home security. With features like wire-free installation, crisp video resolution, and motion detection, Arlo offers everything you need to monitor your home. However, getting the best out of your system requires proper setup and configuration. In this guide, we’ll walk you through how to set up your Arlo cameras and provide tips on how to optimize their performance for maximum security.
Why Arlo Security Cameras?
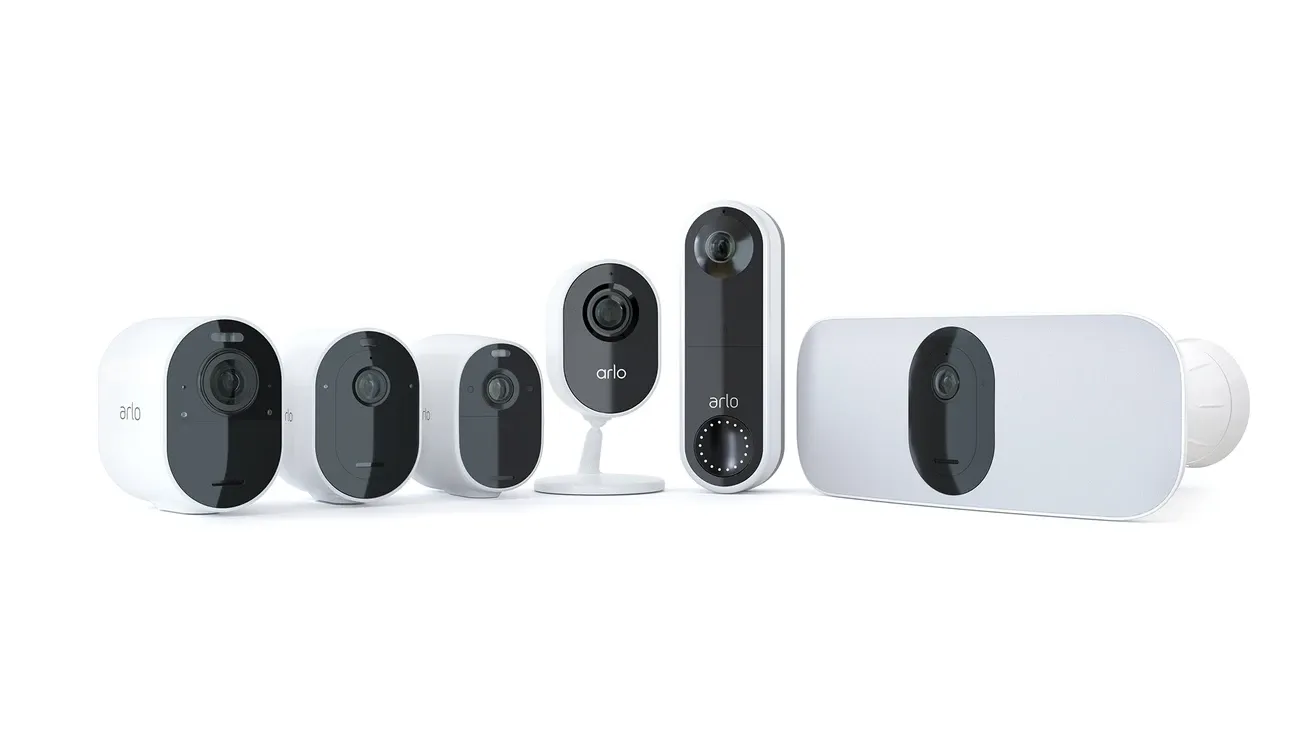
Before we dive into the setup process, it's worth highlighting why Arlo is such a trusted name in home security:
- Wire-Free Design: Arlo’s wireless cameras make installation easy, eliminating the need for complicated wiring.
- High Video Resolution: With options up to 4K resolution, Arlo cameras provide clear footage, essential for identifying potential threats.
- Smart Features: Arlo cameras come equipped with night vision, two-way audio, and motion alerts, offering advanced protection.
- Smart Home Integration: Arlo works with Amazon Alexa, Google Assistant, and other smart home systems, allowing for seamless control of your security setup.
Now, let’s get into the process of setting up your Arlo security cameras.
Step 1: Unbox and Charge Your Arlo Cameras
Your Arlo system will include the following components:
- Arlo cameras
- SmartHub/Base Station (if required)
- Mounting brackets
- Screws and anchors
- Power cables or rechargeable batteries
If you're using wire-free cameras, the first step is to fully charge the camera batteries. Connect the charging cable to each camera and wait until the batteries are fully charged (usually indicated by a green light).
For wired cameras, ensure that you have access to a nearby power outlet to plug them in after mounting.
Step 2: Install the Arlo App and Set Up Your Arlo Account
To begin the setup process, download the Arlo app on your smartphone or tablet. The app is available for both iOS and Android. Once the app is installed, follow these steps:
- Create an Arlo Account: Open the app and sign up for a new account using your email address.
- Log in: Once your account is created, log into the Arlo app.
- Connect the SmartHub/Base Station: If you’re using Arlo’s SmartHub or Base Station, connect it to your router via an Ethernet cable. Make sure the SmartHub is powered on, and wait for the LED lights to turn green, indicating a successful connection.
Step 3: Sync Your Cameras with the Arlo App
Once your account is set up, it’s time to sync your cameras with the Arlo app. Here’s how:
- Press the Sync Button: On each camera, press the sync button (usually located on the top or side). The camera’s LED light should start blinking, indicating it’s ready to pair.
- Add the Camera in the App: In the Arlo app, go to Devices > Add New Device > Cameras. The app will automatically detect the camera and guide you through the setup.
- Name Your Cameras: Once synced, give each camera a unique name based on its location (e.g., "Front Door," "Backyard"). This will help you easily manage your security system.
Step 4: Mount Your Cameras
Proper camera placement is crucial for maximizing coverage and ensuring your cameras can effectively monitor your home. Follow these tips when mounting your Arlo cameras:
1. Choose the Best Location
- Height: Install the cameras at least 7-10 feet above the ground to get a wide-angle view while keeping them out of reach of potential tampering.
- Field of View: Position the camera to cover critical areas such as entrances, driveways, and backyards. Avoid pointing the camera directly at the sun to reduce glare.
- Wi-Fi Range: Make sure the cameras are within range of your Wi-Fi router or the Arlo SmartHub. If the signal is weak, consider using a Wi-Fi extender to improve connectivity.
2. Use the Provided Mounting Brackets
Each Arlo camera comes with a mounting bracket and screws. Use these to securely attach the camera to your chosen location. If you're mounting on concrete or brick, you may need to use the provided wall anchors.
3. Adjust the Camera Angle
After mounting, adjust the camera's angle to capture the best possible view. Use the live feed in the Arlo app to ensure the camera is aligned correctly and captures the desired area.
Step 5: Configure Camera Settings in the Arlo App
Once your cameras are installed, the next step is to customize their settings for optimal performance. Here are the key settings you should configure:
1. Motion Detection Sensitivity
In the Arlo app, you can adjust the motion detection sensitivity for each camera. If you’re getting too many false alerts (e.g., from passing cars or pets), reduce the sensitivity. If the camera is missing important events, increase the sensitivity.
2. Activity Zones
Arlo allows you to create activity zones—specific areas within the camera’s field of view where motion detection is more sensitive. This is especially useful if you want to monitor specific areas (like your front door) while ignoring others (like the street).
3. Video Quality Settings
Higher video resolution offers clearer footage but can consume more bandwidth and storage. Depending on your needs, you can select from different video quality settings, such as 720p, 1080p, or 4K (for supported cameras).
4. Smart Notifications
Set up smart notifications to get alerts when specific types of movement are detected (e.g., people, vehicles, animals). You can customize these notifications to reduce unnecessary alerts.
5. Night Vision
Make sure night vision is enabled for outdoor cameras. This feature uses infrared light to capture clear footage even in complete darkness.
Step 6: Integrate Arlo with Your Smart Home System
To enhance your security system’s functionality, integrate your Arlo cameras with other smart home devices. Arlo works with several platforms, including:
- Amazon Alexa: Use voice commands to view live footage on Alexa-enabled devices like the Echo Show or Fire TV.
- Google Assistant: Connect your cameras to Google Assistant for hands-free control and video streaming on compatible devices.
- IFTTT (If This Then That): Create automation routines with IFTTT, such as turning on smart lights when motion is detected by an Arlo camera.
Step 7: Monitor and Optimize Performance
Now that your cameras are set up, it’s important to monitor and optimize their performance over time. Here’s how to keep your Arlo system running smoothly:
1. Check Wi-Fi Connectivity
Ensure that all cameras maintain a strong Wi-Fi connection. Weak signals can lead to video delays or connectivity issues. If you notice any issues, move your cameras or adjust your router placement.
2. Manage Battery Life
For wireless cameras, battery life is a key concern. To extend battery life:
- Lower the video resolution to conserve energy.
- Adjust motion sensitivity so the camera isn't activated by minor events.
- Consider investing in solar panels for outdoor cameras, which can keep the batteries charged without manual intervention.
3. Regular Firmware Updates
Check for firmware updates regularly in the Arlo app. These updates often include bug fixes, new features, and performance enhancements.
4. Test and Review Footage
Periodically review footage and test your system to ensure it’s capturing everything properly. Make adjustments to camera angles or settings as needed.
Conclusion
Setting up and optimizing your Arlo security cameras doesn’t have to be complicated. By following these step-by-step instructions, you’ll have your system up and running in no time. With the right settings, camera placement, and smart home integrations, your Arlo cameras will provide reliable, high-quality protection for your home. Stay vigilant, monitor performance, and make adjustments as needed to ensure your home remains secure.
Happy securing!