
In the rapidly evolving world of smart homes and IoT devices, the Raspberry Pi has emerged as a versatile tool for DIY enthusiasts and tech-savvy individuals. By leveraging Home Assistant, you can transform this affordable, compact computer into the ultimate smart home hub that seamlessly integrates various devices, automates routines, and enhances energy efficiency. In this article, we will delve into how to set up your Raspberry Pi with Home Assistant and explore its capabilities in home automation.
Building Your Smart Home Hub
Hardware Requirements for Your Raspberry Pi
To begin this project, ensure you have the necessary hardware:
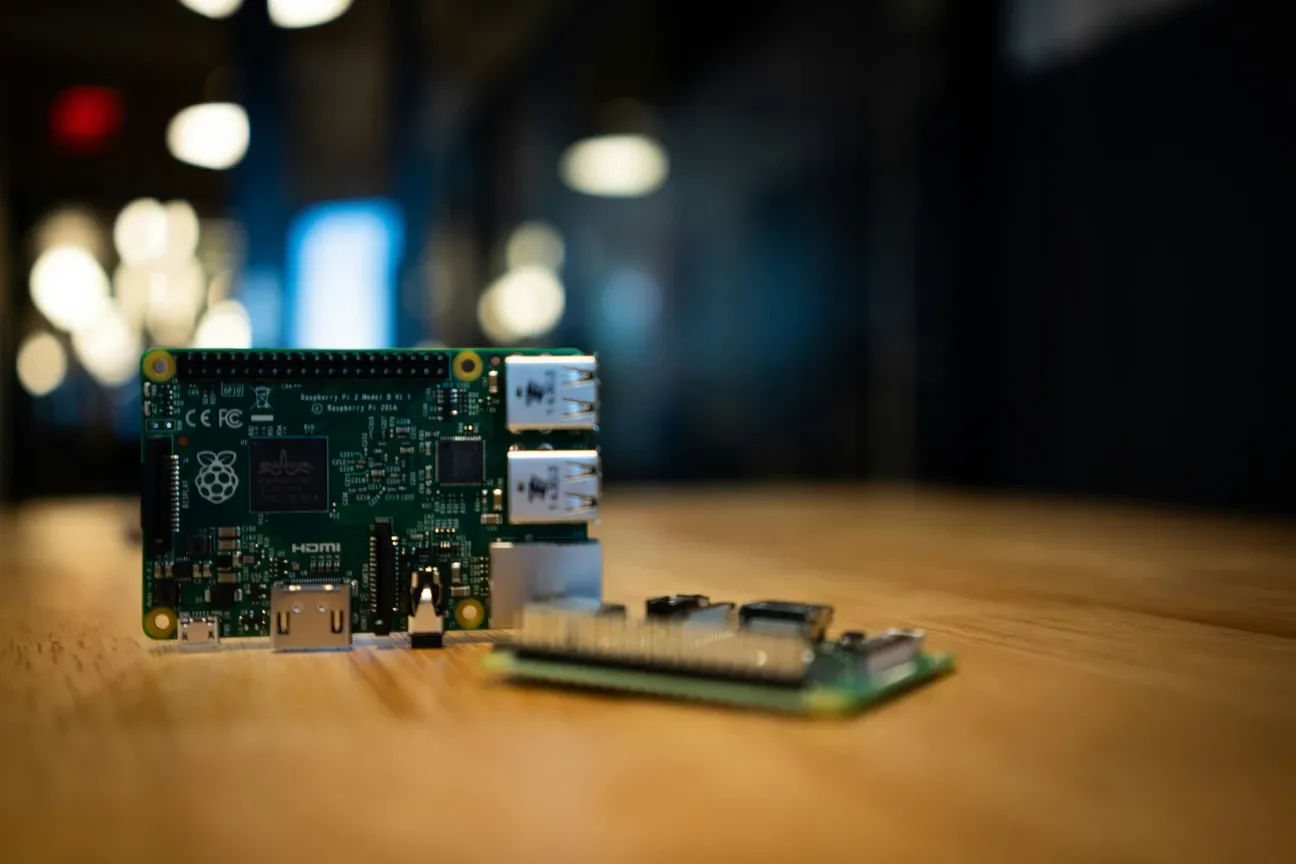
- Raspberry Pi: For optimal performance, a model with at least 4GB of RAM is recommended, such as the Raspberry Pi 4 or the latest Raspberry Pi 5. The newer models offer improved processing power and memory capacity, making them ideal for handling multiple smart home devices and automation rules.
- MicroSD Card: Use a high-speed card (Application Class 2, labeled A2) with at least 32GB capacity to ensure smooth performance.
- Power Supply: A reliable power supply is crucial to prevent system crashes during operation. Avoid using mobile chargers or USB ports from computers, as they may not provide sufficient power.
- SD Card Reader: Most laptops have built-in readers; otherwise, a USB adapter will suffice.
- Ethernet Cable: Required for initial installation. While Wi-Fi can be used post-installation, a wired connection ensures stability during setup.
- Optional: Touchscreen Display: Consider adding a touch interface for easier access to your smart home controls.
Setting Up Your Smart Home Hub
Step 1: Download and Install Raspberry Pi Imager
- Visit the official Raspberry Pi software page and download the appropriate version for your operating system.
- Install the Raspberry Pi Imager following your OS-specific instructions.
Step 2: Flash Home Assistant OS onto the MicroSD Card
- Open the Raspberry Pi Imager.
- Click on "Choose OS":
- Navigate to
Other specific-purpose OS>Home assistants and home automation>Home Assistant. - Select the version matching your Raspberry Pi model (e.g., RPi 4 or RPi 5).
- Navigate to
- Click on "Choose Storage":
- Insert your microSD card into the computer.
- Select your microSD card from the list.
- Click "Write" to begin flashing the Home Assistant OS onto the microSD card.
- Wait for the process to complete and then safely eject the card.
Step 3: Boot Up Your Raspberry Pi
- Insert the flashed microSD card into your Raspberry Pi.
- Connect an Ethernet cable to ensure a stable internet connection during setup.
- Connect the power supply to your Raspberry Pi to boot it up.
Step 4: Access Home Assistant
- Allow a few minutes for Home Assistant to initialize.
- On a device connected to the same network, open a web browser and navigate to
http://homeassistant.local:8123.- If this doesn't work, find your Raspberry Pi's IP address and navigate to
http://<IP_ADDRESS>:8123.
- If this doesn't work, find your Raspberry Pi's IP address and navigate to
Step 5: Complete the Onboarding Process
- Create your Home Assistant user account.
- Configure settings such as location, time zone, and unit preferences.
- Begin adding your smart devices and integrations to start automating your home.
Integrating Devices and Protocols
Choosing the Right Software: Home Assistant
Home Assistant is a popular, open-source platform that supports a wide range of smart devices and protocols, including Zigbee, Z-Wave, and Philips Hue. It offers a user-friendly interface to configure automations and monitor your devices.
MQTT for Seamless Communications
To enable devices from different manufacturers to communicate effectively, use MQTT (Message Queuing Telemetry Transport). This protocol ensures that messages are exchanged locally, enhancing reliability and reducing the need for cloud dependencies.
Energy Monitoring and Efficiency
One of the significant advantages of using a Raspberry Pi with Home Assistant is the ability to integrate energy monitoring tools. By tracking energy consumption in real-time, you can identify power-hungry devices and set up automations to optimize usage and reduce energy waste.
Customizing Your Smart Home Hub
Touchscreen Interface
Consider transforming your Raspberry Pi into a wall-mounted touchscreen control panel for a seamless user experience. This setup allows everyone in your household to easily control smart devices without needing their own devices.
Advanced Automation with YAML and Node-RED
For more sophisticated users, YAML scripts or Node-RED offer deeper customization options to create complex automation chains based on time, sensor input, or device status.
Voice Control Integration
Integrate your setup with Google Assistant or Amazon Alexa for hands-free control, adding an extra layer of convenience to your smart home experience.
Key Features of a Smart Home Hub
Here are some essential features to consider when setting up your smart home hub:
- Multi-device Integration: Manage all your smart devices from one interface.
- Local Control: Keep control of your devices locally for better privacy.
- Customizable Automations: Create automation rules based on inputs like motion detection or time of day.
- Environmental Monitoring: Use sensors to monitor temperature and humidity levels in your home.
- Voice Assistants: Integrate with Google Assistant or Amazon Alexa for voice control.
Key Software and Hardware Considerations
When constructing your smart home hub, you need to consider both software and hardware compatibility. Here’s a brief overview of what works well with Raspberry Pi:
- Smart Home Software: Home Assistant and OpenHAB are excellent choices for managing smart devices and automations on the Raspberry Pi.
- Communication Protocols: MQTT, Zigbee, and Z-Wave support ensure compatibility with various smart devices.
- Sensors and Devices: Integrate DHT11 or DHT22 sensors for temperature and humidity monitoring, or use Philips Hue smart bulbs for smart lighting.
Benefits of Using a Raspberry Pi as a Smart Home Hub
Affordability and Customization
One of the primary advantages of choosing a Raspberry Pi is its cost-effectiveness and customizability. You have complete control over your setup, allowing you to tailor it to your specific needs without being locked into proprietary systems.
Community Support
The Raspberry Pi community is vast and active, providing extensive support and resources for DIY projects. This means you can easily find solutions to common issues and access community-created tools and scripts.
Privacy and Reliability
By keeping control of your smart devices locally, you enhance both privacy and reliability compared to cloud-dependent solutions. This is especially important for users