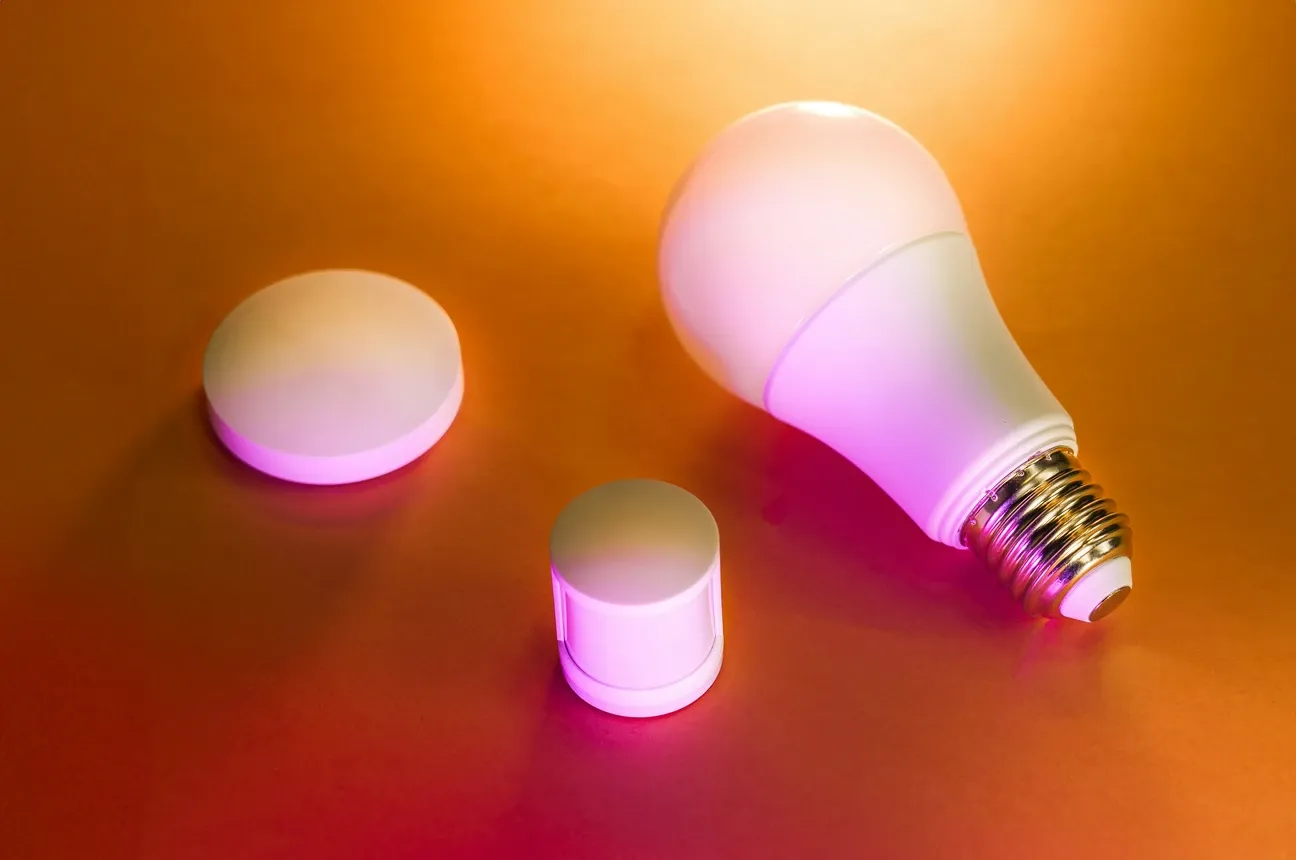
With the growing popularity of smart home technology, transforming your apartment into a hub of convenience and efficiency has never been easier. One of the first steps many people take in their journey with smart homes is installing smart lights. However, if you're just starting out with smart devices, you might wonder how to effectively install such lighting. Don’t worry! This complete guide will walk you through the entire process – from understanding what smart lights are to installing them in your home.
Understanding Smart Lights
Before diving into the installation process, it’s worth explaining what smart lights are. These modern lighting solutions allow you to control your home’s lighting via a smartphone app or voice commands. Brands like Philips Hue, LIFX, and others offer excellent options to enhance your home with smart lighting. Of course, you can still turn the lights on and off the traditional way – using a wall switch.
Benefits of Smart Lighting
Smart lights provide numerous benefits that make daily life easier and increase your home’s efficiency:
- Convenience: Control your lights remotely or automate them with schedules. Wouldn’t it be convenient if the lights automatically turned off when everyone leaves the house?
- Energy Efficiency: Save energy with LED bulbs and smart scheduling. For example, in areas like hallways, lights are only needed when someone is present, so you don’t have to remember to turn them off.
- Home Automation: Integrate lighting with other smart home devices like Amazon Echo or Google Home. Imagine starting a movie night by dimming the lights, lowering the blinds, and starting the projection with a single command.
- Personalization: Choose from millions of colors to create the perfect ambiance. Modern interiors often feature multiple light points beyond just one chandelier – setting brightness or color for each can be time-consuming. With personalized actions and light grouping, this process becomes quick and simple.
Preparation
Before starting installation, prepare the following:
- Smart lighting kits: Choose a brand and type of smart lights that best suit your needs.
- Smart home hub: Some smart lighting systems require a hub.
- Mobile device: Download the manufacturer’s app.
- Stable Wi-Fi connection: Ensure your home Wi-Fi network is functioning smoothly.
- Voice assistant (optional): Consider integrating with Alexa or Google Assistant.
How to Install Smart Lights
Step 1: Choose the Right Bulbs
Different types of smart bulbs cater to various needs. Ensure you purchase models compatible with your light fixtures. Smart LED bulbs are energy-efficient and durable – while their initial cost may be higher than traditional bulbs, they save money on electricity bills in the long run. From personal experience, such bulbs can last over 10 years without issues.
Step 2: Install the Bulbs
Remove old bulbs and replace them with new, smart ones. Ensure they are compatible with your home's voltage and fixtures.
Step 3: Connect to a Smart Home Hub
If your lighting system requires a hub, connect it to your router and follow the manufacturer’s setup instructions. Before purchasing, confirm that the bulbs are compatible with the hub you own. If both are from the same manufacturer, there should be no issues. For different manufacturers, check for device pairing possibilities (e.g., Philips Hue bridges can also connect bulbs from other brands).
Step 4: Configure the App
Download the app for your lighting system. Create an account or log in and follow instructions to add new devices. Ensure your smartphone is connected to the same Wi-Fi network as the bulbs.
Step 5: Integrate with Voice Assistants
If you use a voice assistant (e.g., Alexa or Google Assistant), link it to your lighting system for easier control.
Step 6: Customize Light Settings
Adjust brightness, colors, and schedules in the app according to your preferences. Experiment with light scenarios to find those that best suit your lifestyle.
Troubleshooting Tips
Even top-notch systems may occasionally encounter issues. Here are some tips:
- Connectivity problems: Ensure your Wi-Fi is working properly and that bulbs are within range of the router (or hub).
- App issues: Check if you're using the latest app version.
- Voice commands: Verify that your voice assistant is correctly configured.
Final Thoughts
Installing smart lights is easier than it might seem, and their benefits are significant. Whether you want to create the perfect atmosphere for movie nights or enhance home security, smart lighting is an excellent choice. This guide was designed to simplify every step of the installation process and help you enjoy modern technological solutions in your home!
